Appearance
Custom fields
Custom fields let you track extra data on your animals beyond the built-in fields — anything that matters to your operation. You can organise them into groups to keep things tidy.
Open Settings from the left-hand menu, then choose Custom Fields.
When you first arrive you'll see "No custom fields defined yet." That's normal — you start from a blank slate. You have two ways to fill it.
The quick way: browse templates
- Select Browse Templates.
- Pick a prebuilt set that suits your breed or operation and install it.
- The fields appear straight away, ready to use and tweak.
The hands-on way: add your own
- Select Add Group first if you'd like a heading to organise fields under (for example, a Health or Show results group). This step is optional.
- Select Add Field.
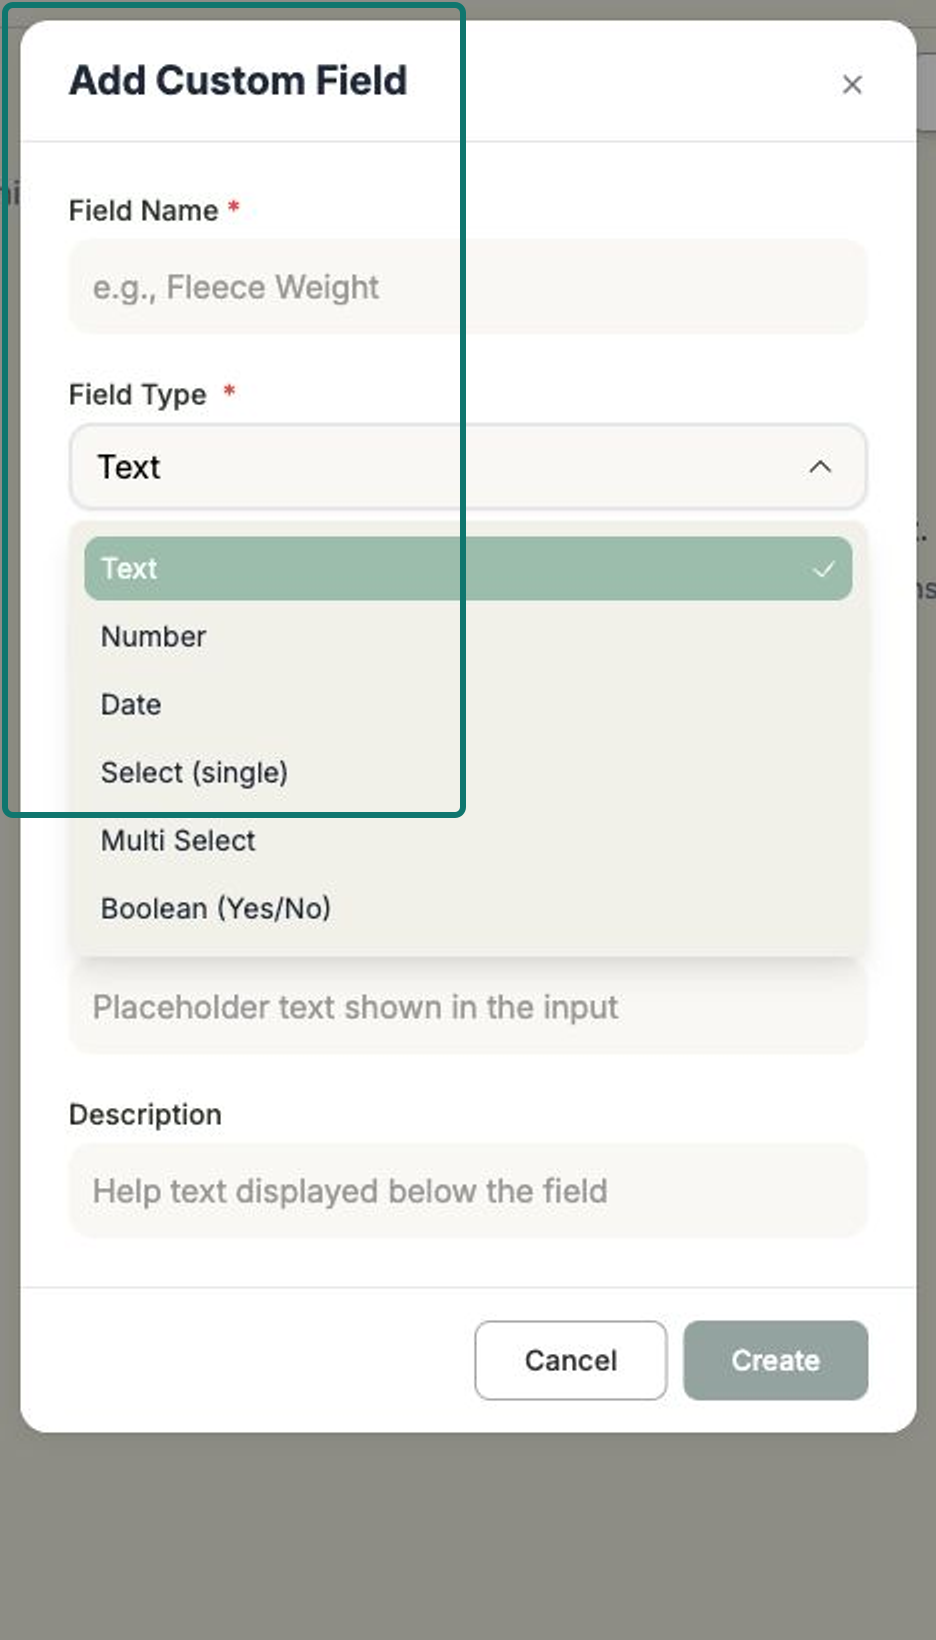
- In the Add Custom Field form, enter a Field Name.
- Choose a Field Type — your options are Text, Number, Date, Select (single), Multi Select, Boolean (Yes/No).
- Set Required to Yes if it must be filled in, or leave it No.
- Optionally add a Group Name to file it under a group, a Placeholder for example text, and a Description for help text that guides whoever fills it in.
- Select Create.
Once created, your custom fields appear on every animal record, ready to fill in. They're also added to the animal import template, so you can bring their values in alongside everything else.
Set up custom fields before you import
Because custom fields are included in the animal import template, it's best to create them before you import a spreadsheet of animals. That way your extra data has a column to land in. See Importing animals & EBVs.
Related
- Importing animals & EBVs — your custom fields appear in the template.
- The animal record — where your custom fields show up.
- EBV display — choose which EBV traits are visible on animals.